
Video Segments
- Partner with SHOPLINE integrated logistic partners (0:13)
- Add a custom delivery option (0:29)
- Specify delivery date and time (0:36
- Set up payment options (2:10)
- Add a custom payment option(2:40)
- Add cash on delivery option (2:53)
- Add bank transfer option (3:03)
- Exclude a delivery option from payment (3:25)
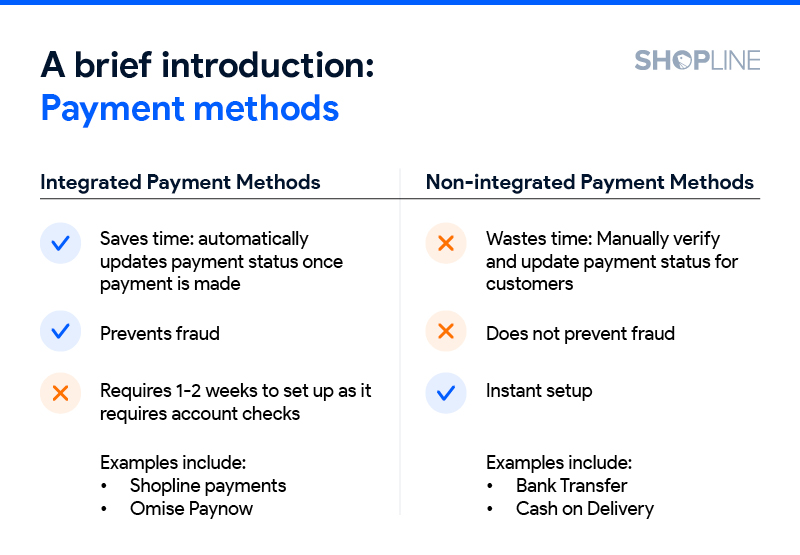
Pro tip: Get started with non-integrated payment methods while setting up integrated payment for future convenience and scaling of business
Payment Options
Setting up non-integrated payment method
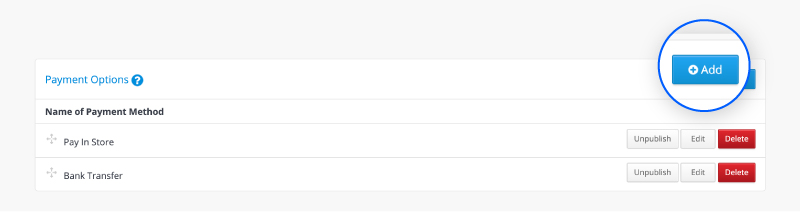
On the admin panel, navigate to Payment Options under Settings.
- Click Add to add your payment options.
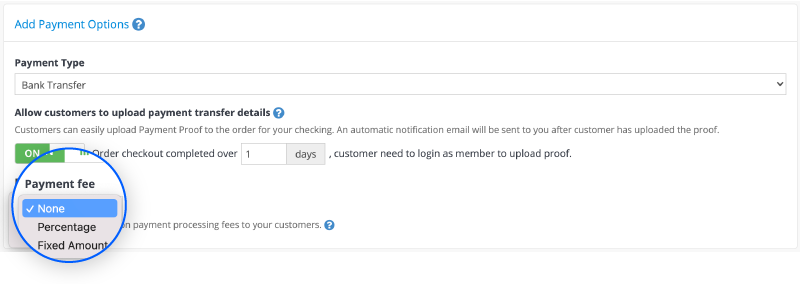
– - Under Payment Type select your preferred payment type to set up.–
- If there’s a payment fee that you want to pass to or share with your customers, you can indicate here.
– - Fill up the the details accordingly.
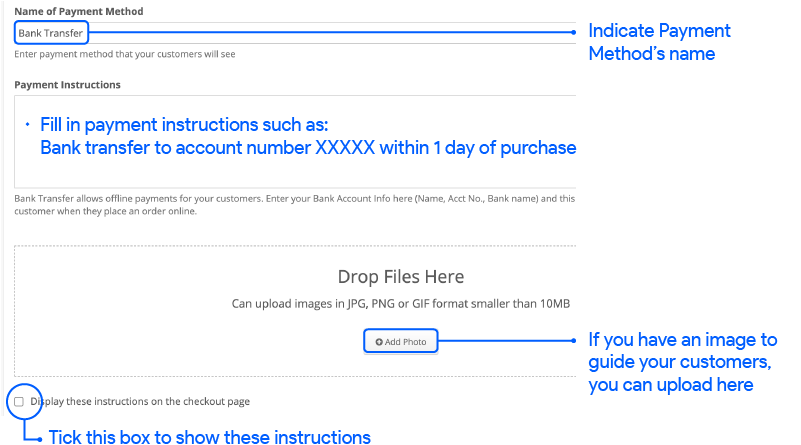
– - Tick the boxes to exclude the delivery options from this payment method.

–– - Remember to click Add to save
Setting integrated payment method
Before setting this up, you would require a few things:
- Make sure your web page has been designed properly
- Make sure these pages are set up:
- Terms and Conditions
- Returns and Refunds
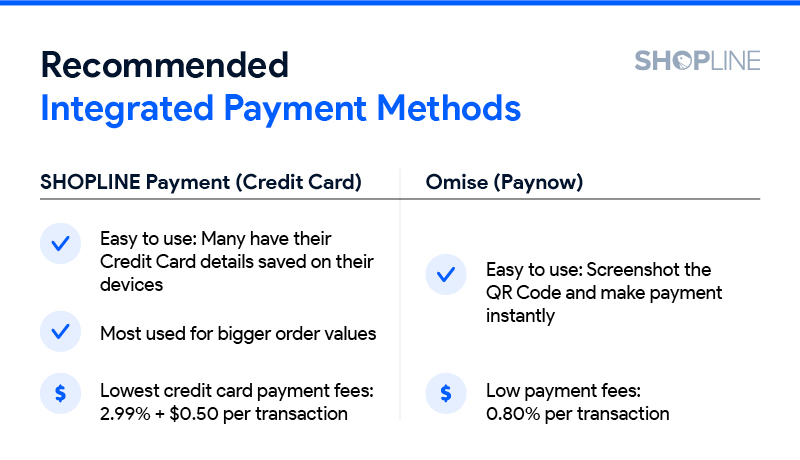
| How to apply for Shopline Payment? | How to apply for Omise? |
–
Click here to apply for our integrated delivery.
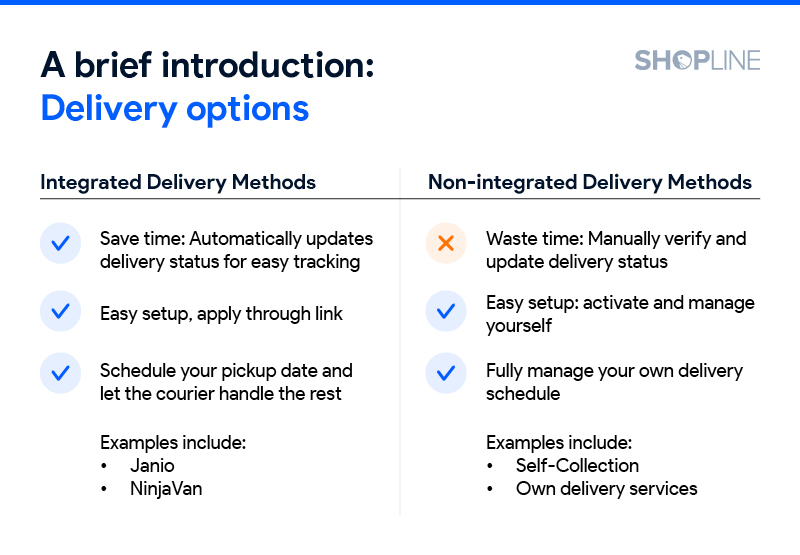
Pro tip: Have a mix of integrated & non-integrated delivery options according to your needs
Delivery Options
Setting up integrated delivery method
Step 1: Apply here.
Step 2: Click Apply Now under your preferred integrated delivery provider.
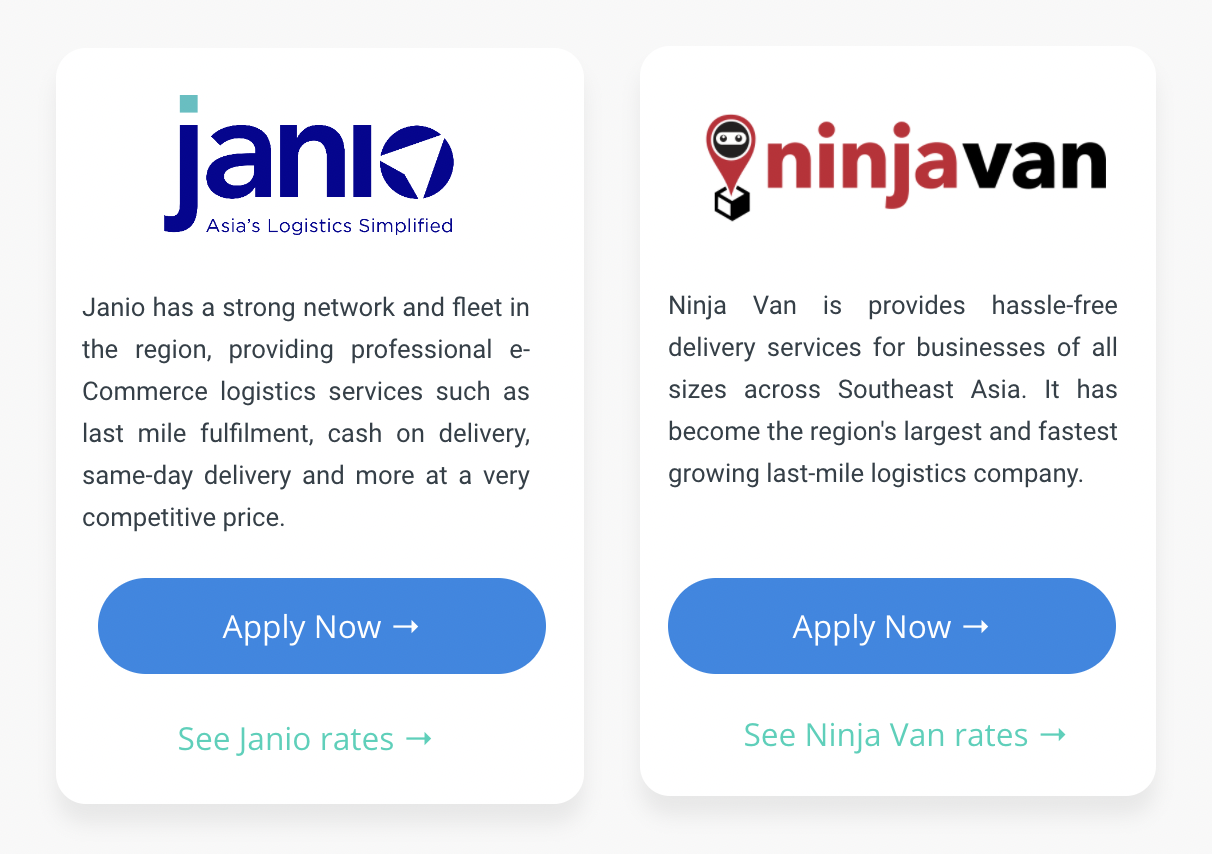
Step 3: Fill up the form.
Step 4: Approval will take 1-2 working days. Once approved, navigate to Delivery Options under Settings.
Step 5: Click Publish to activate.
Setting up non-integrated delivery method
- Click Add to add your delivery option.

– - Select Delivery Type.
- Switch these on if you would like customers to select their preferred delivery dates and timings (not applicable with Fast Checkout).

- If Specified Date is switched on, enter the lead time and the selectable day length.
Lead Time – number of days from order placed to first selectable order date.
Selectable Day Length – number of days that you open for customers to place orders. For example: Let’s say customer places an order today (Monday). This means that the first date the item can be delivered out on is 2 days from Monday (Wednesday). This means that there are 3 days for the customer to select: Wednesday, Thursday and Friday.If Specified Timeslot is switched on, indicate the timeslots that are available for delivery.
- Fill up the details accordingly.

- Select your Delivery Fee Type – either by flat price or by order weight.
- Set the flat fee if flat price is selected.
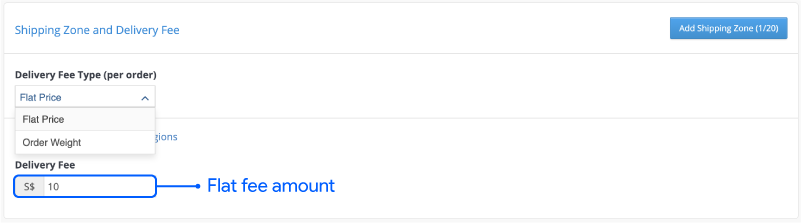
- Add the shipping zones.
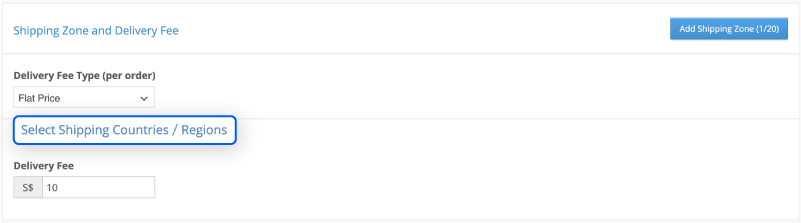
- Find and select the applicable countries.

- Lastly, click Add to save.
For more details, go to the article on logistics setup and payment setup in support.shoplineapp.com.